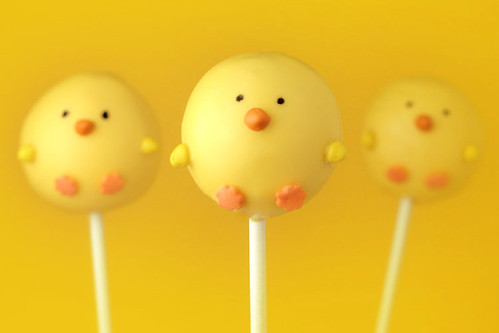
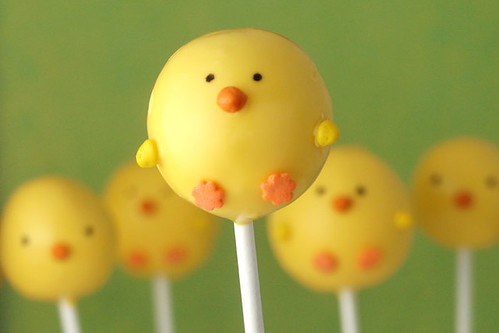
Here they are. The first of the Easter Cake Pops. I've had lots of requests over the last few days for these, so I spent some time working out ideas for you guys. I'll show you the others in the coming days.
But for now, it's… Chicks, man! (Pretend I'm Joel McHale from Talk Soup when you read that. It's much more effective.)
Here's how they look on pink.
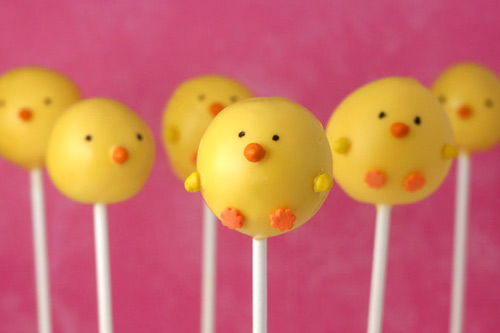
On blue…
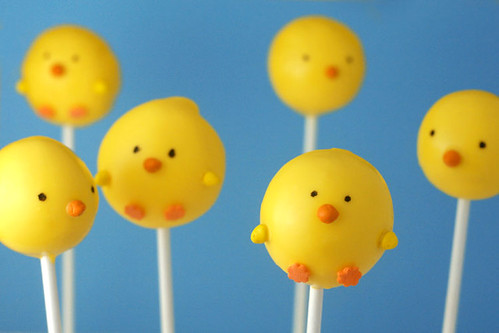
On yellow… (I love spring!)

…and green.
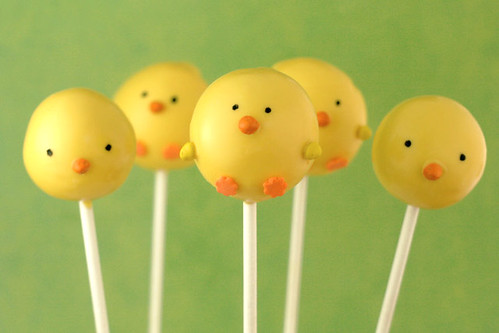
And here, I just played around with a few different designs.
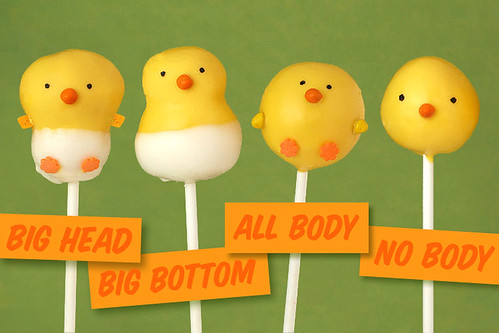
I'm leaning towards just the head. But the little feet are so dang cute. And if the eggshells came off looking a little better, those might be the winner. Big head? Big bottom? All body? Or no body? Whatcha think?
Anyway, if you want to make some, follow the instructions for the basic cake pops.
You'll need the following supplies:
Cake and Frosting
Yellow Candy Melts
White Candy Melts
Paper Lollipop Sticks
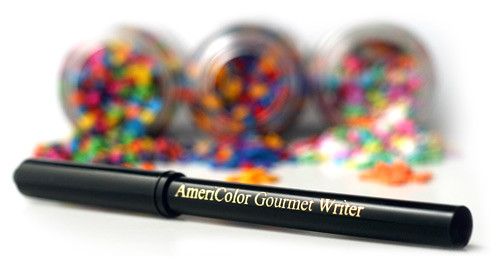
Black Edible Ink Pen
Styrofoam Block
Paramount Crystals
Rainbow Candy Coated Chips
Pastel Wild Flower Sprinkles
Diamond Shape Sprinkles
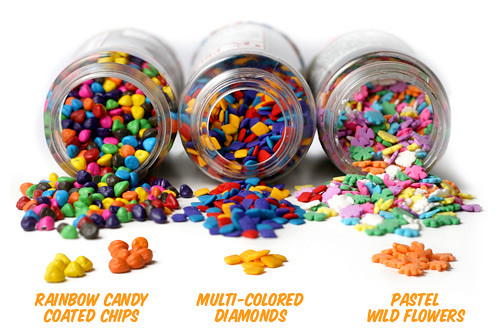
To decorate solid yellow chicks:
- Once the round yellow candy covered cake pops are dry (again, basic cake pops instructions here), use a toothpick to dip into the melted candy coating. Dab a little dot of the coating where you want the beak to go. Then, just take one of the orange rainbow chips and attach it to the pop. It works like glue.
- For the feet and wings, use the same technique to glue on the other sprinkle shapes.
- Use the edible ink pen to draw the eyes.
Note: to get smoother covered pops, make sure your bowl is deep enough to submerge the entire pop. Try to dip it in one dunking motion and remove. If the chocolate is too thick, add some paramount crystals or some shortening to the melted candy coating to thin it out. Remove the pop, holding it in your left hand. tap your left wrist lightly with your right hand and rotate the lollipop stick over your bowl. The excess chocolate should fall off, smoothing out the coating at the same time. Also, make sure the coating surrounds the stick at the base to secure it.
For the Chicks in Eggshells:
- Instead of rolling them round for the pops, shape them by hand to form the chick body.
- Once, you've made the pops, dipped them, and they have dried, carefully twist and remove the stick. Be aware of the location of the hole that was left.
- Then, hold the chick head and dip the bottoms in white candy melts. Dip the end of the same lollipop stick in some of the white candy coating and reinsert. Let dry.
- You don't want your white candy coating to be too hot. It can melt the yellow or it could drip down the sides and mess up your design. So, let it sit and thicken up a little for a few minutes before you start dipping the eggshells.
- Then glue the sprinkles on and draw the eyes like above.
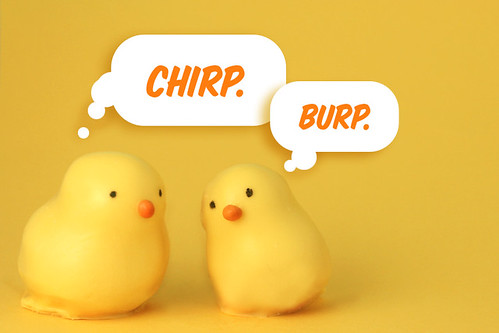
Or ditch the sticks altogether!
They're pretty cute like this, too. Just drop them in a bowl of melted candy coating. Cover them with the chocolate without moving them around in the bowl. Then lift them from the coating with a spoon. Tap off the excess and slide the little chicks carefully off your spoon onto wax paper to set. If the coating pools at the bottom, use a toothpick to draw a separation line. Then, once it dries completely, it will be easier to break off the part you don't want.
Bye, bye birdie for now, but there's more cuteness coming soon.
Enjoy!

No comments:
Post a Comment